
Blog / How to Draw an Osprey
How to Draw an Osprey
January 3, 2026
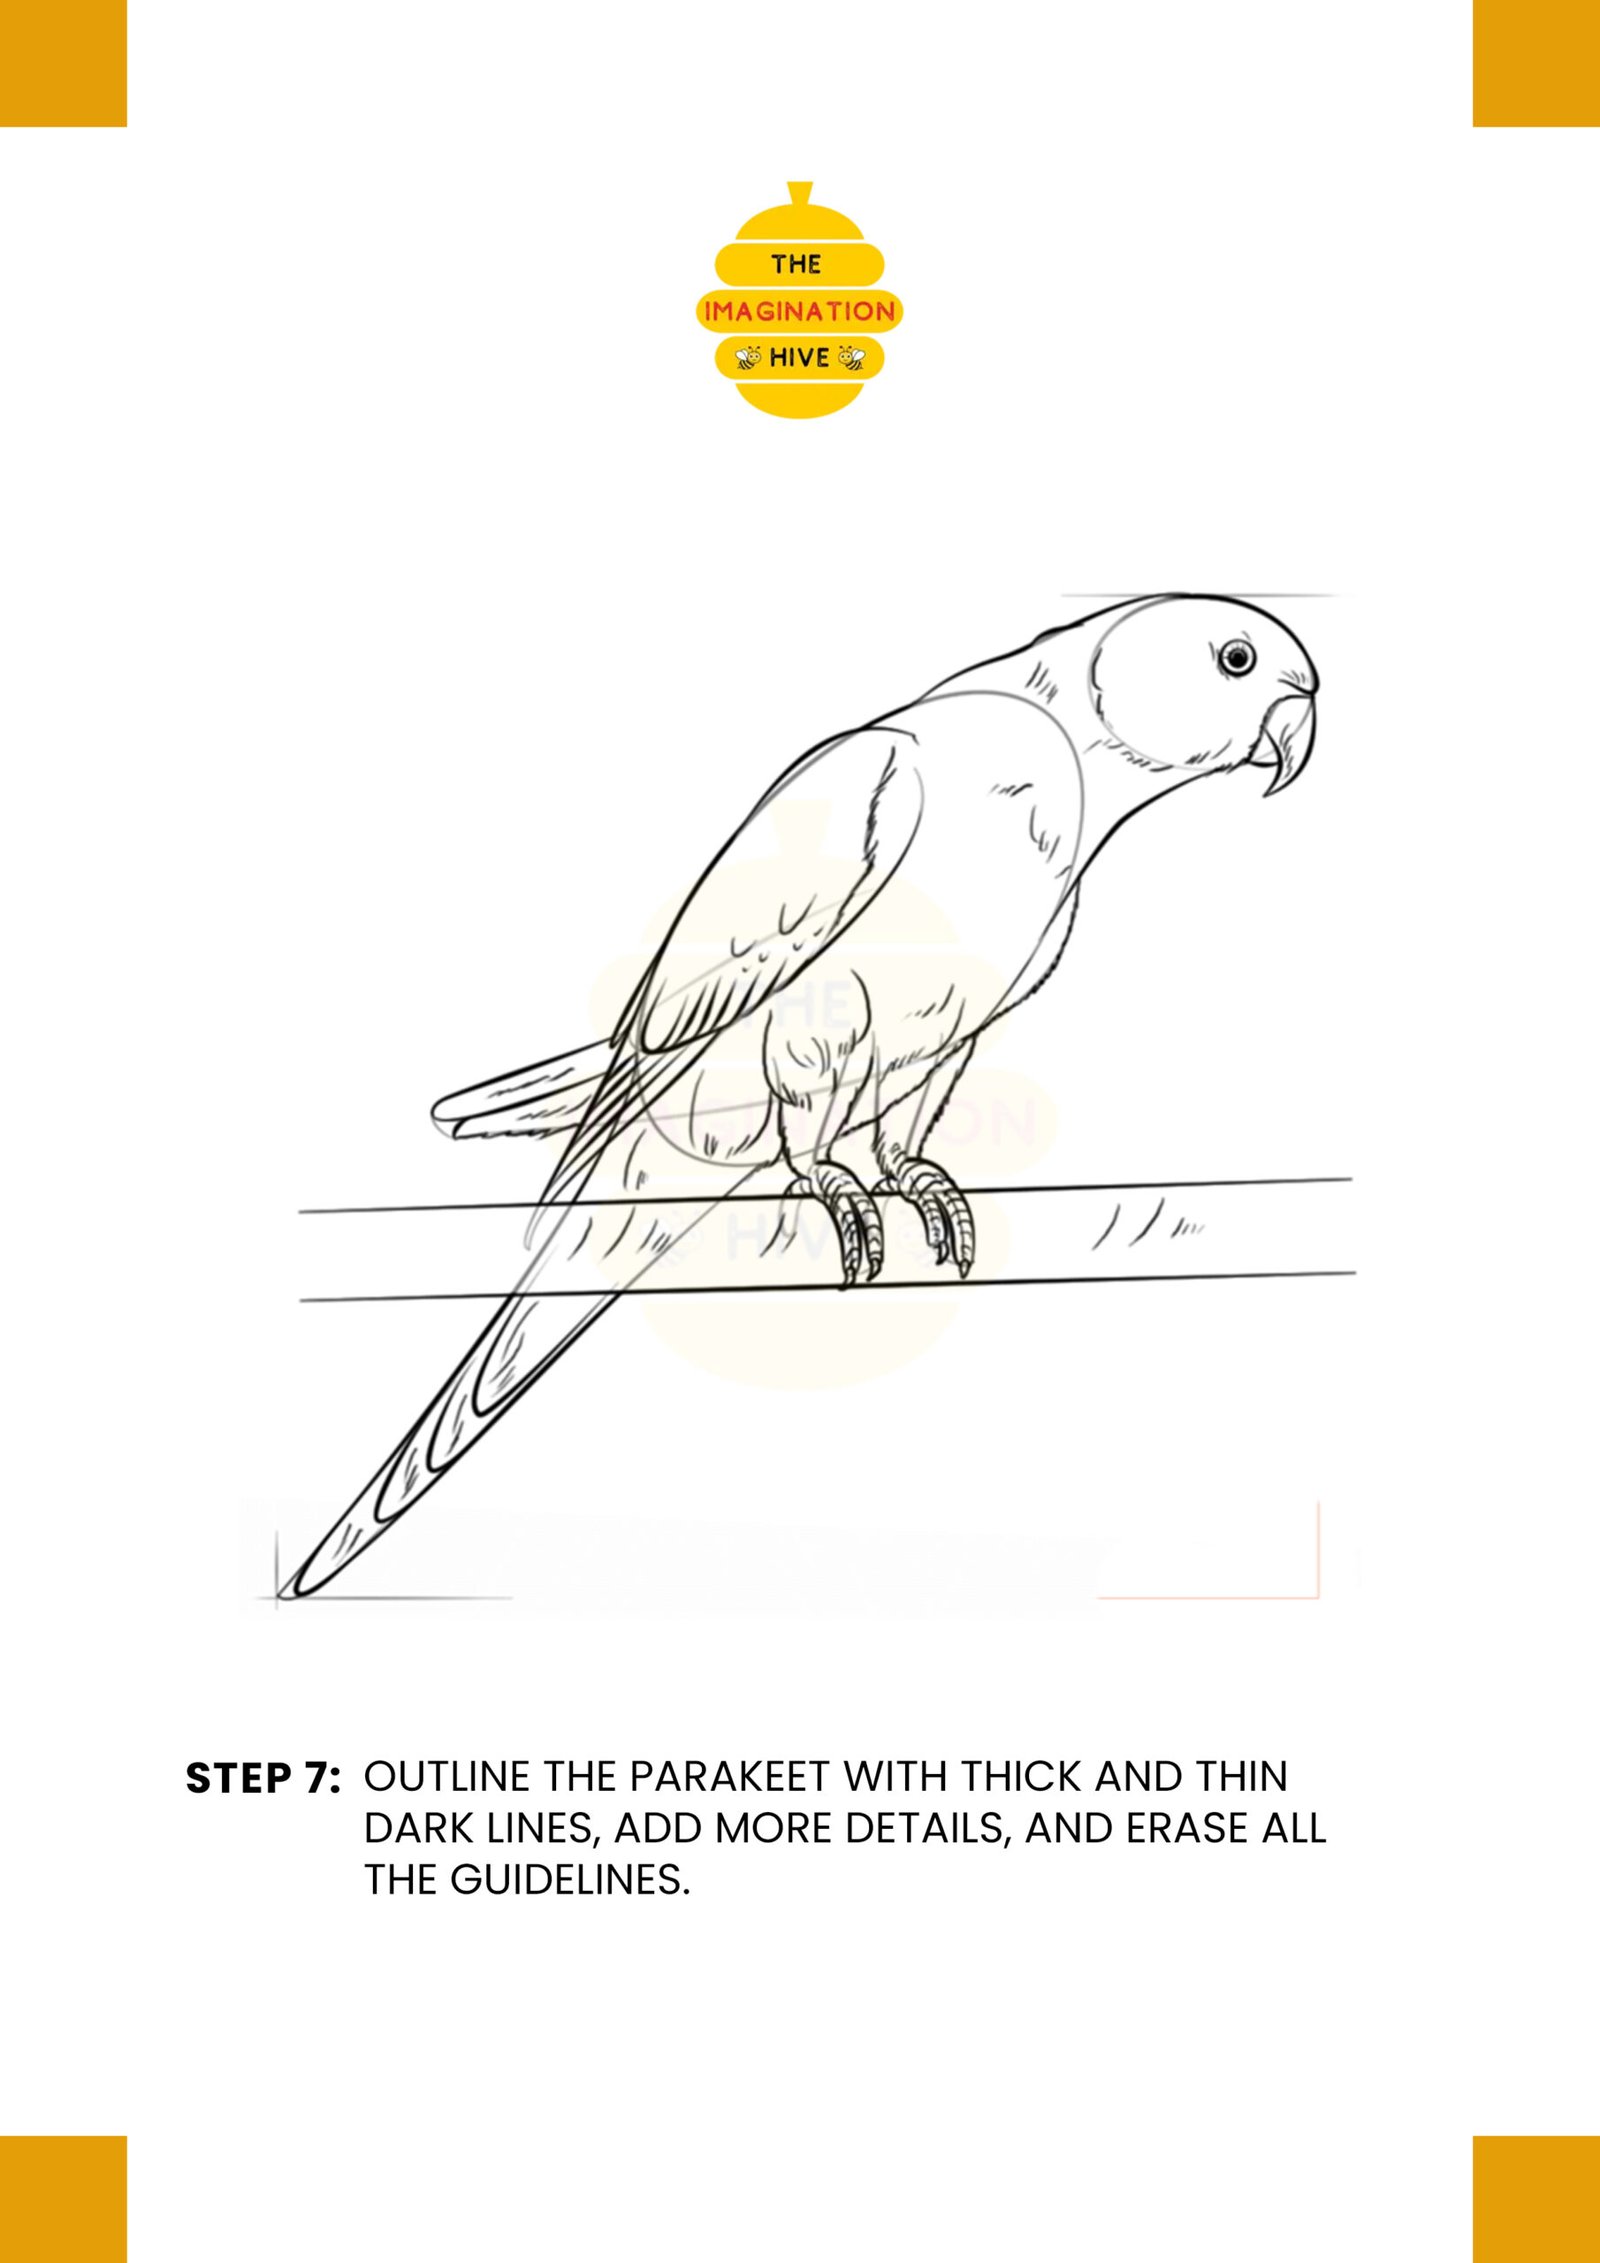
Learn how to draw an osprey in flight by starting with simple shapes and gradually adding wings, feathers, and sharp details.
Step 1:
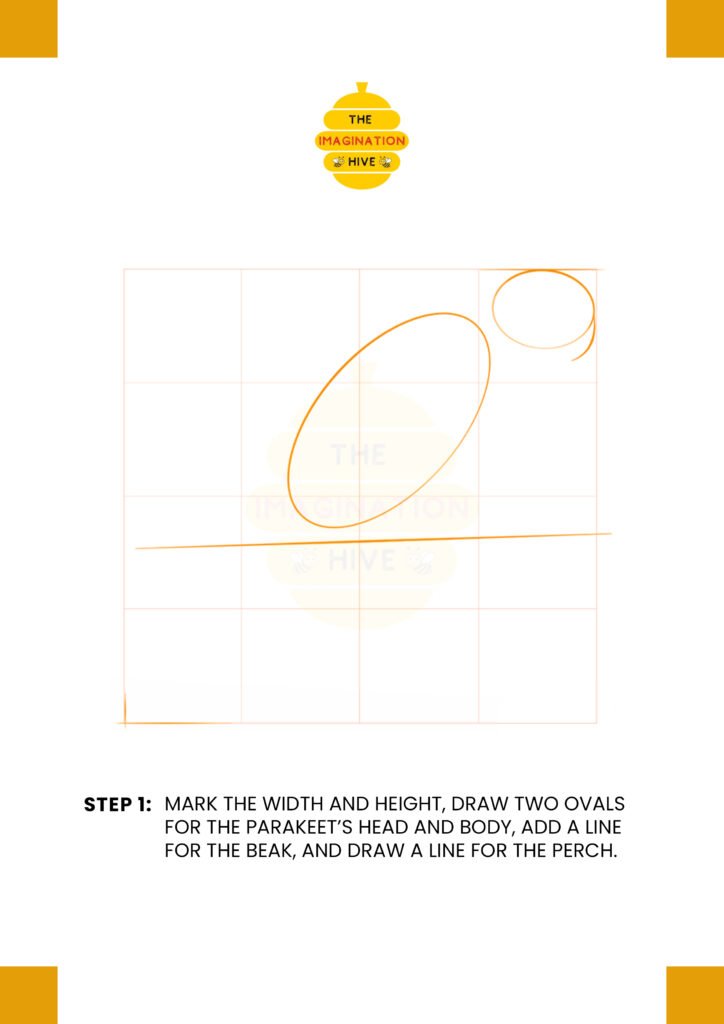
Mark the width and height, draw two ovals for the osprey’s head and body, and add a line to show the beak.
Short tip: Keep the head oval smaller and pointed forward to show the osprey’s focused flight pose.
Step 2:
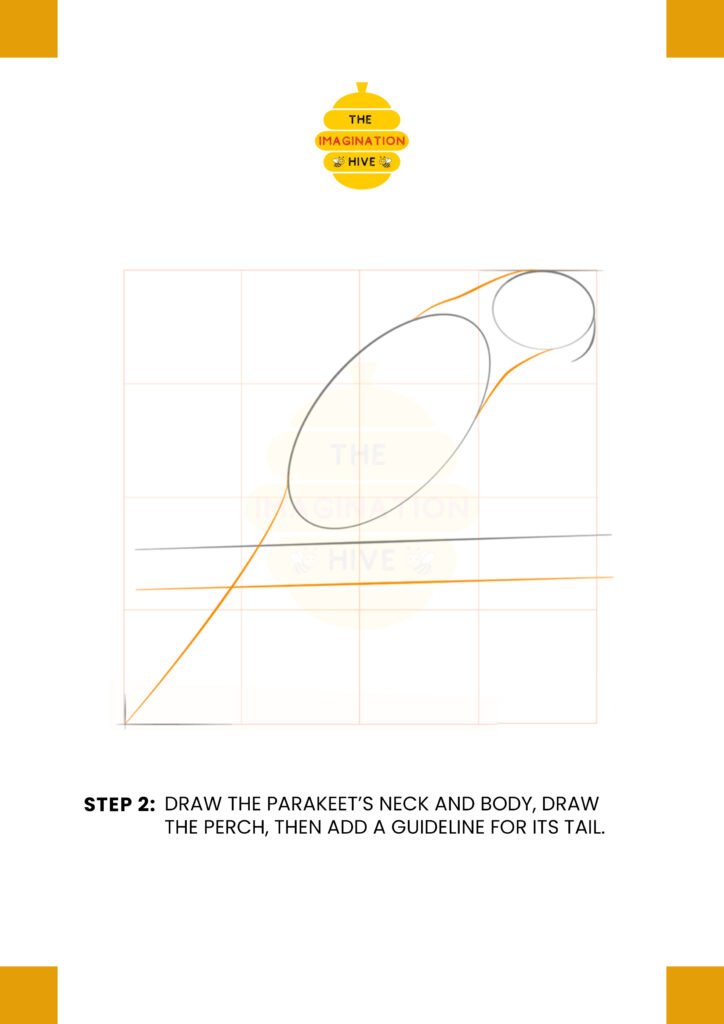
Draw the osprey’s neck and body, then add a guideline for its tail.
Short tip: Use smooth curves to connect the head and body naturally
Step 3:
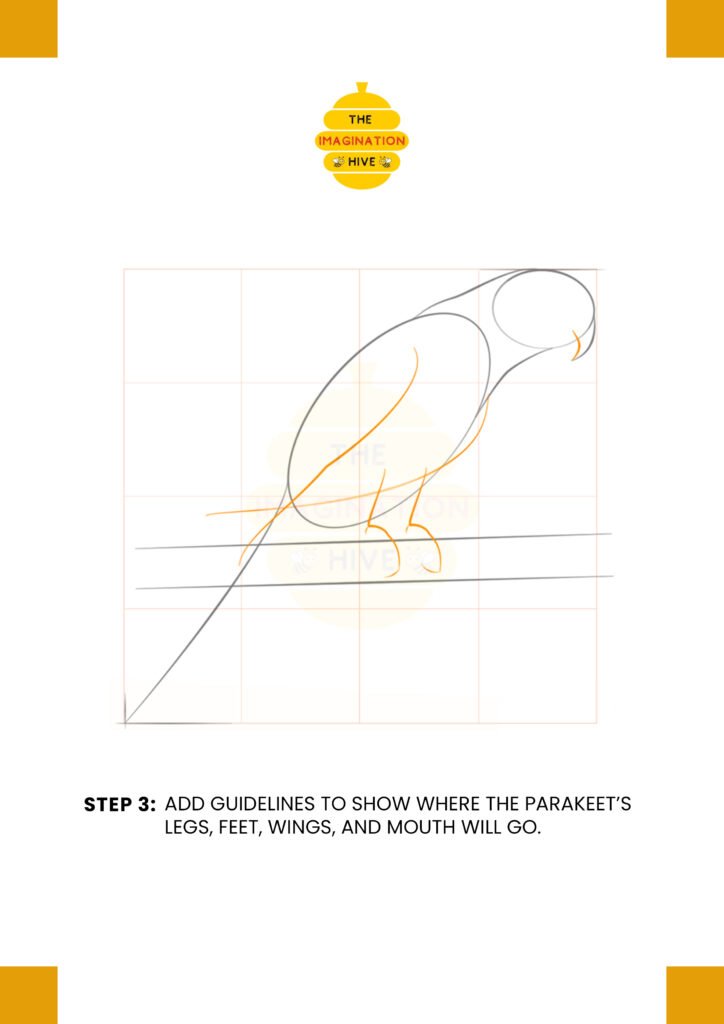
Add guidelines to show where the osprey’s legs, wings, and mouth will go.
Short tip: Long wing guidelines help capture the wide wingspan of the osprey.
Step 4:
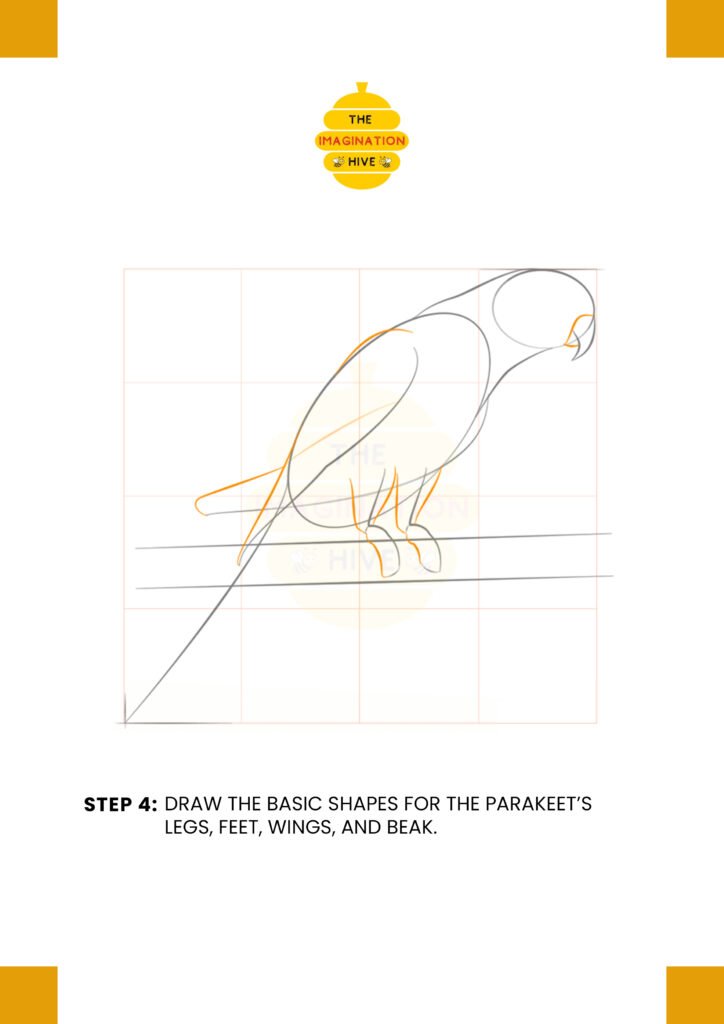
Draw the basic shapes for the osprey’s legs, wings, and beak.
Short tip: Keep the wings broad and slightly bent to show motion in flight.
Step 5:
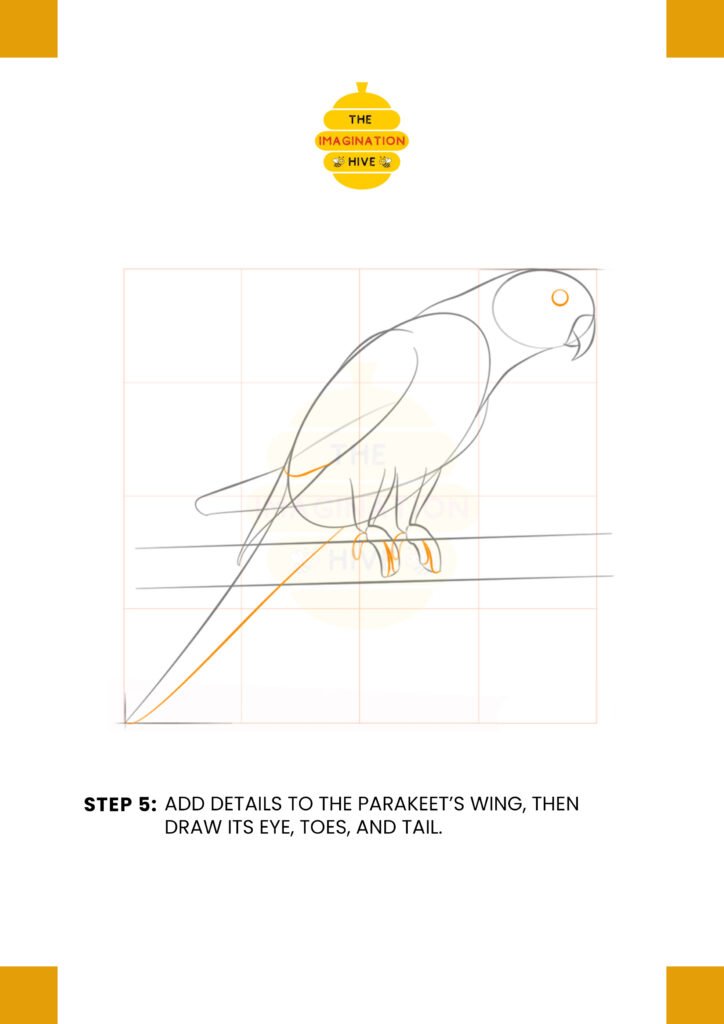
Add details to the osprey’s wing, then draw its eye, toes, and tail.
Short tip: Sharp toes and a strong beak give the osprey its powerful hunting look.
Step 6:
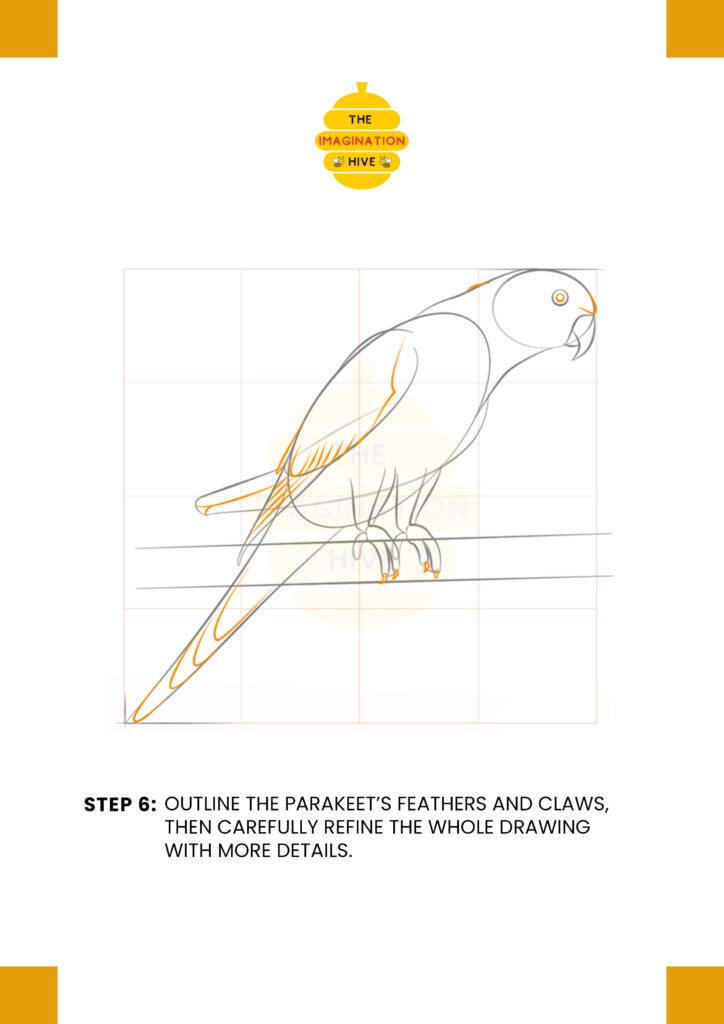
Outline the osprey’s feathers and claws, then carefully refine the whole drawing with more details.
Short tip: Use layered feather lines to add texture without cluttering the drawing.
Step 7:
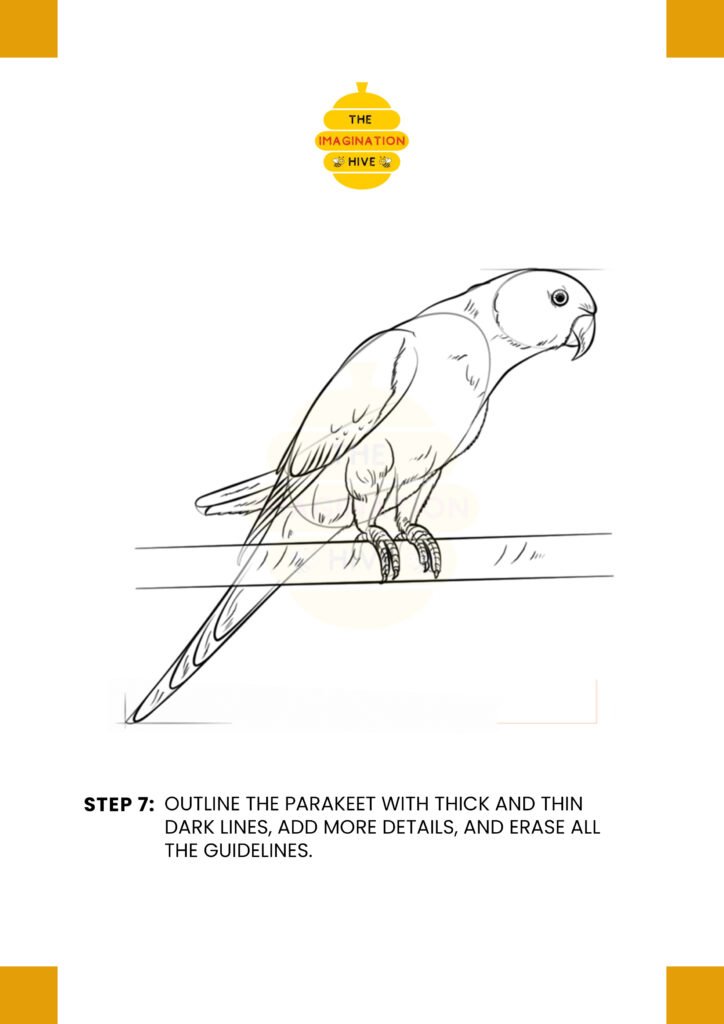
Outline the osprey with thick and thin dark lines, add more details and the clouds, then erase all the guidelines.
Short tip: Thicker outer lines and thinner feather details create a clean, finished result.